
Deploy Next.js App to Vercel: Step-by-Step Guide
Next.js is a React framework for building web apps with server-side rendering (SSR) and static site generation (SSG). Vercel is a cloud platform designed to host static sites and serverless functions, seamlessly integrating with Next.js.
Benefits of Using Vercel for Next.js Deployment:
-
Easy to use with a straightforward deployment process
-
Automatic optimizations for performance (code splitting, compression, caching)
-
Scalable serverless architecture based on demand
-
Continuous deployment from Git repository
-
Preview deployments to test changes before production
Requirements:
-
Functional Next.js app ready for deployment
-
Vercel account (sign up at vercel.com)
-
Git installed locally
Step-by-Step Deployment:
-
Set up Environment
-
Install Node.js and a package manager (npm or yarn)
-
Create a new Next.js app or use an existing one
-
Initialize a Git repository for your app
-
-
Prepare App for Deployment
-
Build your Next.js app with
npm run build -
Leverage Next.js optimizations (code splitting, prefetching, static optimization)
-
Handle environment variables securely with
.env.local
-
-
Deploy to Vercel
-
Create a Vercel account and import your Next.js project
-
Configure deployment settings (project name, branch, environment variables)
-
Deploy your app with a click, and access the live URL
-
Optional: Custom Domain
-
Add your custom domain in the Vercel project settings
-
Update DNS records with your domain registrar
-
Enable the custom domain after ownership verification
Automatic Updates and Preview Deployments
-
Enable automatic deployments to keep your live site updated
-
Use preview deployments to test changes before production
Learn More:
-
Vercel Documentation for serverless functions, analytics, and more
-
Next.js Documentation for advanced guides and examples
-
Tutorials, videos, and starter kits to accelerate your Next.js development
Related video from YouTube
Setting Up the Environment
Install Node.js and Package Manager
To get started with Next.js, you need Node.js and a package manager (npm or yarn) on your machine. Node.js allows you to run JavaScript on the server-side.
1. Visit the official Node.js website and download the latest LTS (Long Term Support) version for your operating system.
2. Follow the installation instructions for your platform.
3. Once installed, check the Node.js version by running this command in your terminal or command prompt:
node -v
4. Node.js comes with npm (Node Package Manager). You can also use yarn, another popular package manager.
To install yarn, run:
npm install --global yarn
Create or Use a Next.js App
If you don't have an existing Next.js app, you can create a new one using the create-next-app command.
1. Open your terminal and navigate to the directory where you want to create your new Next.js app.
2. Run this command to create a new Next.js app:
npx create-next-app my-app
Replace my-app with your project name.
3. If you already have a Next.js app, skip this step.
Initialize a Git Repository

To deploy your Next.js app to Vercel, you need your codebase in a Git repository. If you haven't already, initialize a new Git repository in your project directory.
1. Open your terminal and navigate to your Next.js app's directory.
2. Run this command to initialize a new Git repository:
git init
3. Add all the files to the repository:
git add .
4. Commit the initial codebase with a descriptive message:
git commit -m "Initial commit"
Now that you've set up the environment, you're ready to prepare your Next.js app for deployment on Vercel.
Preparing the App for Deployment
Build the Next.js App
To get your Next.js app ready for deployment, you'll need to build it first. Run this command to create an optimized production build:
npm run build
This command generates a .next directory containing the compiled and optimized code for your app. The .next directory is what you'll deploy to the production server.
Optimize for Performance
Next.js comes with built-in optimizations to enhance your app's performance out of the box. Here are some key techniques:
-
Code Splitting: Next.js automatically splits your app's code by pages, ensuring only the necessary code is loaded for each route, improving load times.
-
Prefetching: Next.js prefetches pages in the background, making navigation between pages almost instant.
-
Static Optimization: For pages that don't require dynamic data, Next.js automatically pre-renders them as static HTML files, which can be cached and served from a CDN for lightning-fast load times.
-
Lazy Loading: You can further optimize performance by lazy loading components and third-party libraries, deferring their loading until they're needed.
-
Image Optimization: Next.js provides built-in image optimization, automatically optimizing images for various devices and network conditions.
By leveraging these optimizations, you can ensure your Next.js app delivers a smooth and efficient user experience.
Handle Environment Variables
Next.js provides a straightforward way to manage environment variables, which are often used to store sensitive information like API keys or database credentials. Follow these steps:
-
Create a
.env.localfile in the root of your project. -
Add your environment variables to the
.env.localfile, using the formatVARIABLE_NAME=value. -
Access the environment variables in your code using
process.env.VARIABLE_NAME.
For example, to store an API key, you would add API_KEY=your_api_key to the .env.local file and access it in your code with process.env.API_KEY.
Next.js automatically loads environment variables from the .env.local file during the build process and ensures they're not exposed in the client-side code, keeping your sensitive information secure.
Deploying to Vercel

Create a Vercel Account
-
Go to vercel.com and click "Sign Up".
-
Choose to sign up with GitHub, GitLab, Bitbucket, or your email.
-
Follow the prompts to complete the sign-up process.
-
Once signed in, you'll see the Vercel dashboard.
Import Your Next.js Project
-
In the Vercel dashboard, click "New Project".
-
Select the Git repository where your Next.js project is hosted (e.g., GitHub, GitLab, Bitbucket).
-
Follow the steps to connect your Git repository to Vercel.
-
Vercel will automatically detect your Next.js project and provide deployment settings.
Configure Deployment Settings
-
Review the deployment settings provided by Vercel, such as project name, framework preset, and build command.
-
Modify the settings if needed to match your project's requirements.
-
Set up any necessary environment variables in the "Environment Variables" section.
-
Choose the branch you want to deploy (e.g.,
mainfor production).
Start the Deployment
-
Once you've reviewed and configured the settings, click "Deploy".
-
Vercel will start building your Next.js app for production.
-
You can monitor the deployment progress in the Vercel dashboard.
Access the Deployed App
-
After a successful deployment, Vercel will provide a unique URL for your Next.js app.
-
Copy the URL and open it in your web browser to access the deployed app.
-
Congratulations! Your Next.js app is now live on Vercel's global CDN, ensuring fast load times for users worldwide.
sbb-itb-1aa3684
Using a Custom Domain (Optional)
If you want to use your own domain (e.g., example.com) instead of the default Vercel URL, you can easily set it up in your project settings.
1. Add Your Domain
In the Vercel dashboard, go to your project's settings and click on the "Domains" section. Here, you can enter the custom domain you want to use for your Next.js app.
2. Update DNS Records
Once you've added your domain, Vercel will provide you with the necessary DNS records to configure with your domain registrar. Follow the instructions to update your domain's DNS settings, pointing to Vercel's servers.
3. Verify Ownership
After updating the DNS records, Vercel will automatically verify that you own the domain. This process may take some time to propagate across the internet.
4. Enable Custom Domain
Once your domain is verified, you can enable it for your Next.js app in the Vercel dashboard. Your app will now be accessible via your custom domain.
| Tip |
|---|
If you're using a root domain (e.g., example.com), Vercel allows you to configure redirects from the www subdomain or vice versa. |
Automatic Updates and Preview Deployments
Automatic Deployments
Vercel makes it easy to keep your Next.js app up-to-date. Here's how to enable automatic deployments:
1. In the Vercel dashboard, go to your project's "Settings" tab.
2. Scroll down to the "Git" section and click "Edit" next to the branch you want to enable automatic deployments for (usually "main" or "master").
3. Toggle on the "Create Preview" and "Production" switches.
With this setting enabled, Vercel will automatically build and deploy your app whenever you push new code to the configured branch. Your live site will always reflect the latest changes.
Preview Deployments
Before updating your live site, you can preview changes using Vercel's preview deployments:
1. When you open a pull request or push to a non-production branch, Vercel automatically creates a preview deployment.
2. You'll receive a unique URL to share with your team for testing and review.
3. Once approved, merge the branch into your production branch, and Vercel will deploy the updates to your live site.
Preview deployments provide a safe environment to test changes before going live, ensuring a smooth deployment process.
| Benefit | Description |
|---|---|
| Catch Bugs | Test new features and catch issues before deploying to production. |
| Gather Feedback | Share previews with stakeholders to gather feedback before releasing updates. |
| Isolated Environment | Preview deployments are separate from your live site, preventing disruptions. |
Conclusion
Key Points
-
Vercel makes deploying Next.js apps simple and straightforward, without complex setup.
-
Your Next.js app will load quickly worldwide thanks to Vercel's global CDN and built-in optimizations.
-
Continuous deployment and preview deployments enable smooth collaboration, letting your team review changes before going live.
-
Vercel's tight integration with Next.js provides an excellent developer experience, allowing you to focus on building great apps.
Learn More
This guide covered the basics of deploying a Next.js app on Vercel, but there's more to explore. Check out the Vercel Documentation to learn about:
| Feature | Description |
|---|---|
| Serverless Functions | Add dynamic functionality to your Next.js app using Vercel's serverless functions. |
| Analytics | Get insights into your app's performance and user behavior with built-in analytics. |
| Domains and SSL | Easily configure custom domains and SSL certificates for your deployed apps. |
| Environment Variables | Securely manage and access environment variables for your Next.js app on Vercel. |
Additionally, dive into the Next.js Documentation to unlock the full potential of this powerful framework. Join the Next.js community, attend meetups, and follow industry experts to stay up-to-date with best practices and trends.
Additional Resources
Next.js Documentation
The official Next.js documentation is a comprehensive guide covering all aspects of the framework. It includes:
-
Getting started tutorials
-
In-depth guides on advanced topics like API routes, data fetching, and performance optimization
-
Examples to help you build and deploy high-performance React applications
Vercel Documentation
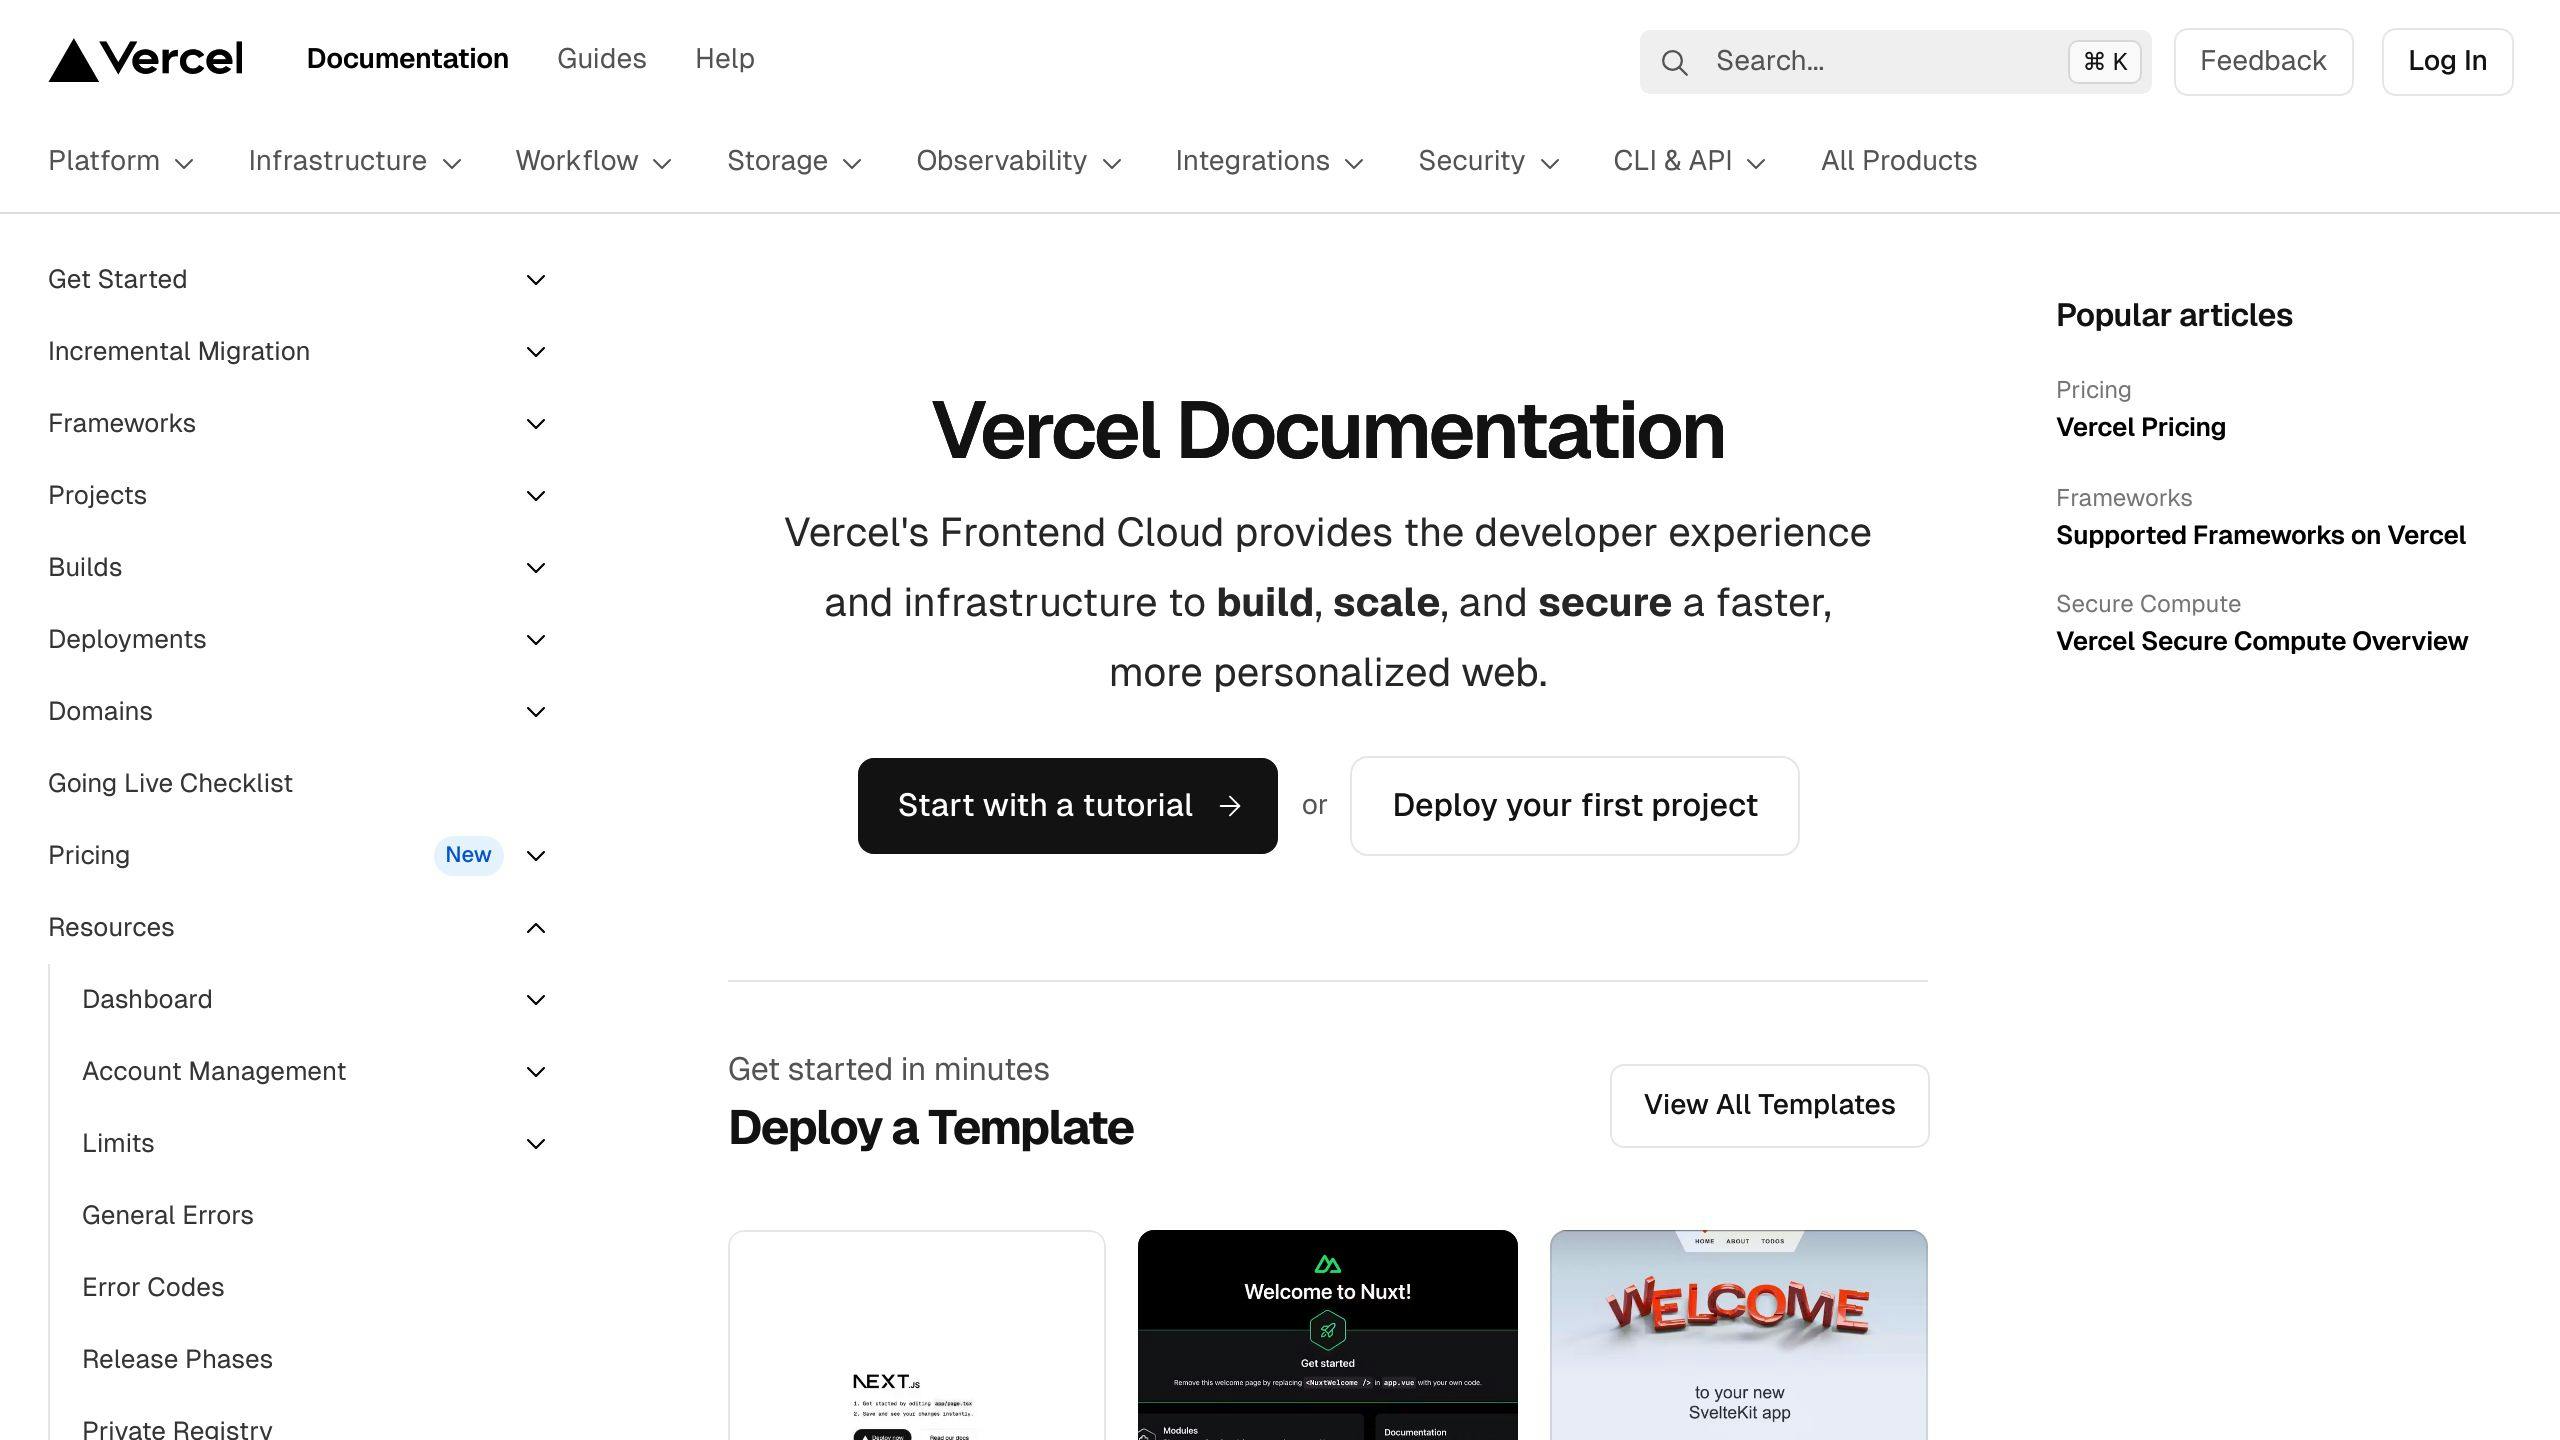
Vercel's documentation is a valuable resource for learning about the platform's features, including:
| Topic | Description |
|---|---|
| Deploying Next.js Apps | Detailed guides on deploying your Next.js applications |
| Configuring Domains | Setting up custom domains for your deployed apps |
| Environment Variables | Managing and accessing environment variables securely |
| Serverless Functions | Adding dynamic functionality with Vercel's serverless functions |
| Analytics | Insights into your app's performance and user behavior |
Tutorials and Videos
Numerous tutorials and videos are available online to help you master Next.js and Vercel deployment:
-
Deploy Next.js on Vercel - Step-by-step video tutorial from Vercel's YouTube channel
-
Next.js Crash Course - Comprehensive video course on Next.js fundamentals
-
Deploy a Next.js App to Vercel - Detailed written tutorial from freeCodeCamp
Next JS Starters and Boilerplates Directory
This directory provides a curated collection of Next.js starters and boilerplates to help you kickstart your project development. It includes:
-
Starters with authentication, state management, and specific UI components
-
Boilerplates tailored to various project requirements
-
Time-saving resources to streamline your development process
FAQs
How do I deploy a Next.js project?
Deploying a Next.js project to Vercel is straightforward:
-
Create a Vercel Account
Sign up for a free Vercel account at vercel.com. You can sign up using your GitHub, GitLab, or email account.
-
Install Vercel CLI
Install the Vercel Command Line Interface (CLI) globally by running:
npm install -g vercel -
Initialize Vercel
Navigate to your Next.js project directory and run:
vercelThis command will guide you through the deployment process, including setting up the project name, directory, and deployment settings.
-
Deploy
After completing the setup, Vercel will automatically build and deploy your Next.js application. Once the deployment is successful, you'll receive a URL where your application is live.
-
Continuous Deployment
Vercel supports continuous deployment. Any changes you push to your repository will automatically trigger a new deployment, ensuring your application is always up-to-date.
| Benefit | Description |
|---|---|
| Easy Setup | Vercel's CLI makes deployment a breeze. |
| Automatic Builds | Your app is built and deployed automatically. |
| Continuous Updates | New code changes trigger fresh deployments. |
| Live URL | Access your live app with a provided URL. |